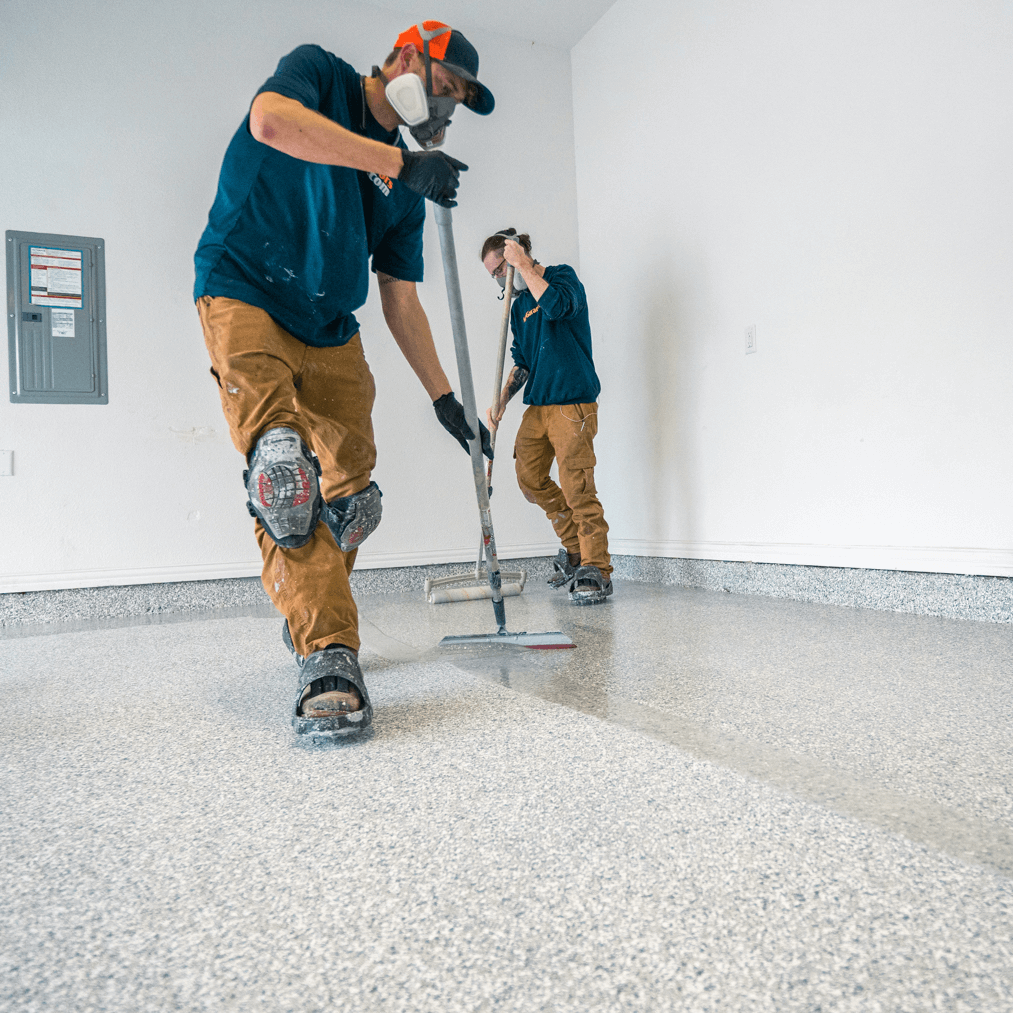
How we install a polyaspartic garage floor, step by step.
Nothing skipped, nothing hidden.
Nine steps, start to finish, on one crew visit. Most of them happen
before a drop of coating touches your slab, and that is exactly why our floors do not peel.
Here is every one of them, in the order our crew does it.
LifeWarranty for as long as you own and live in the home
Before you read the whole thing
The three questions everybody asks first.
How long does it take
One crew visit
A standard two or three car garage is done in a single day. Polyaspartic cures in hours,
not days, so we do not have to come back tomorrow to finish.
Do I need to be home
No
If you can open the garage door for us remotely, you do not have to be home. We never
come inside the house. Most people stop out once or twice to watch, and you are welcome
to.
When do I get it back
The next morning
Walk on it the next morning and start moving things back in. Cars go back in after 48
hours. Your crew lead gives you the exact times for your floor before they leave.
Install day
Nine steps, and six of them happen before we open a single bucket of coating.
Almost every failed garage floor you have ever seen failed at the concrete, not at the
coating. So that is where most of our day goes.
Step 01
Concrete assessment
Before anything else the crew reads your slab. Where the cracks run, whether moisture is
coming up through the concrete, and whether somebody already put a coating down that has
to come off first.
This is also where surprises would normally turn into a change order. They do not here.
The price you were quoted online is the price on the invoice, and crack repair is
already inside it.
Step 02
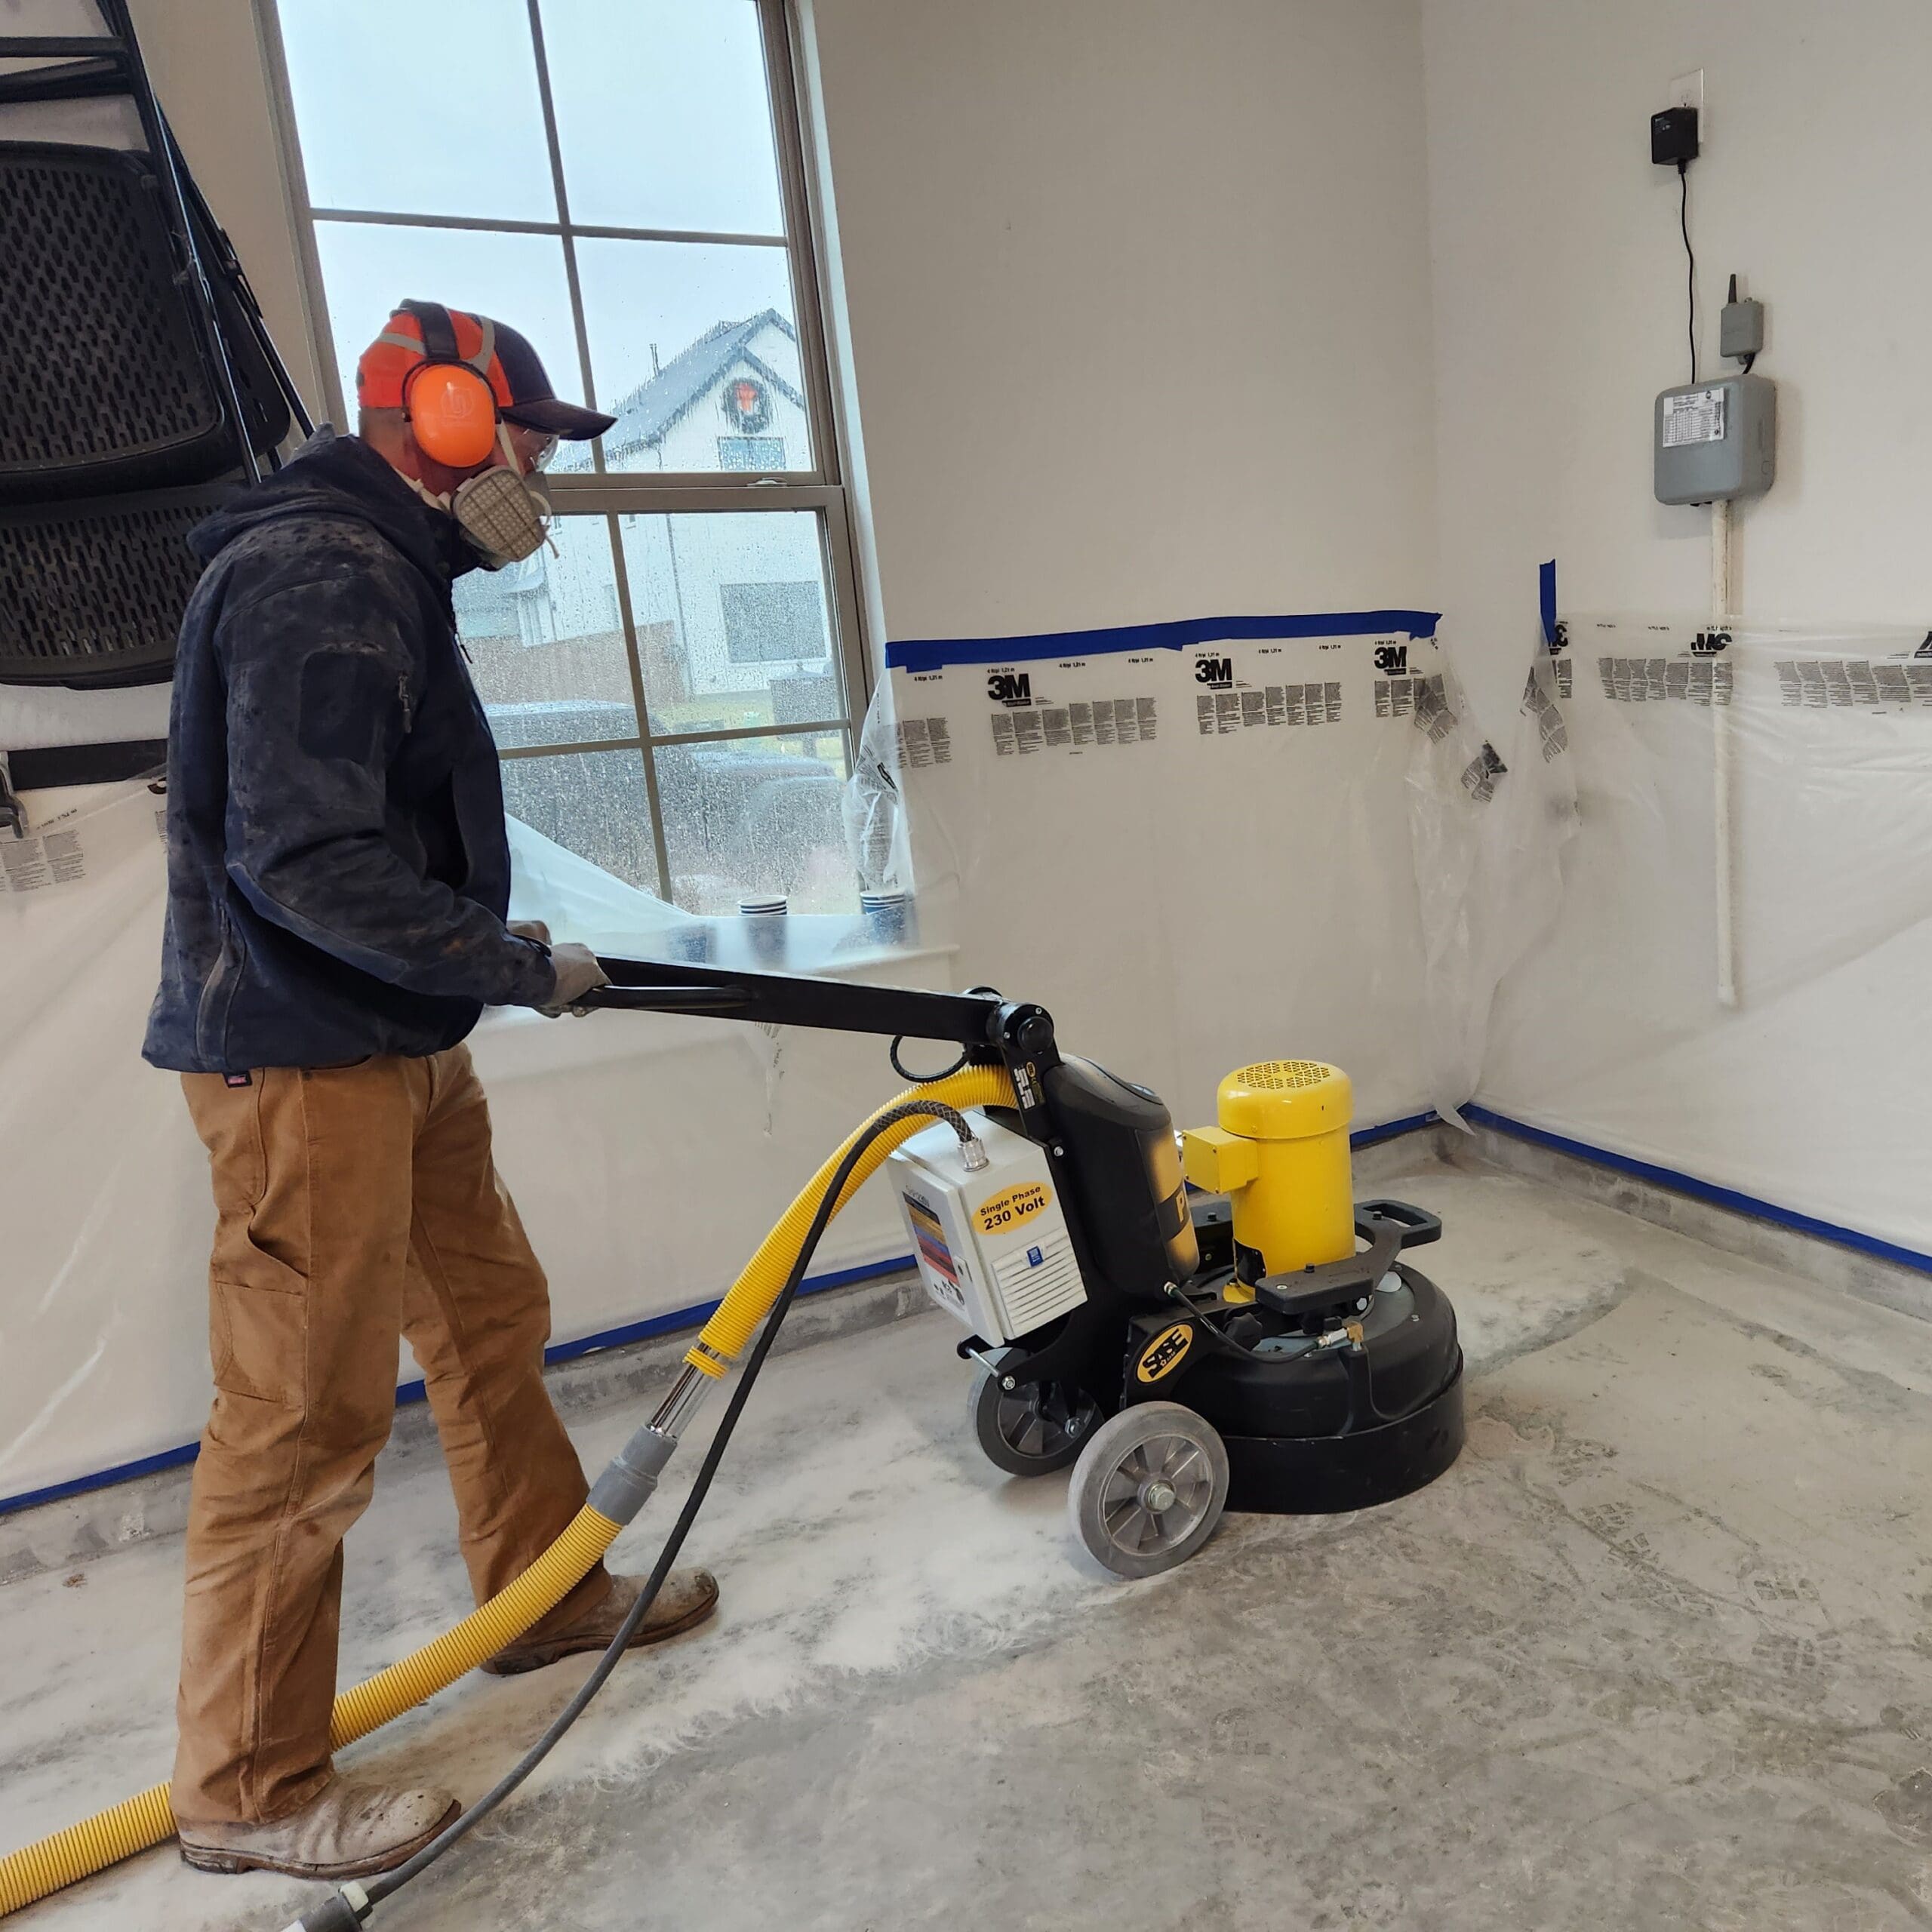
Diamond grinding
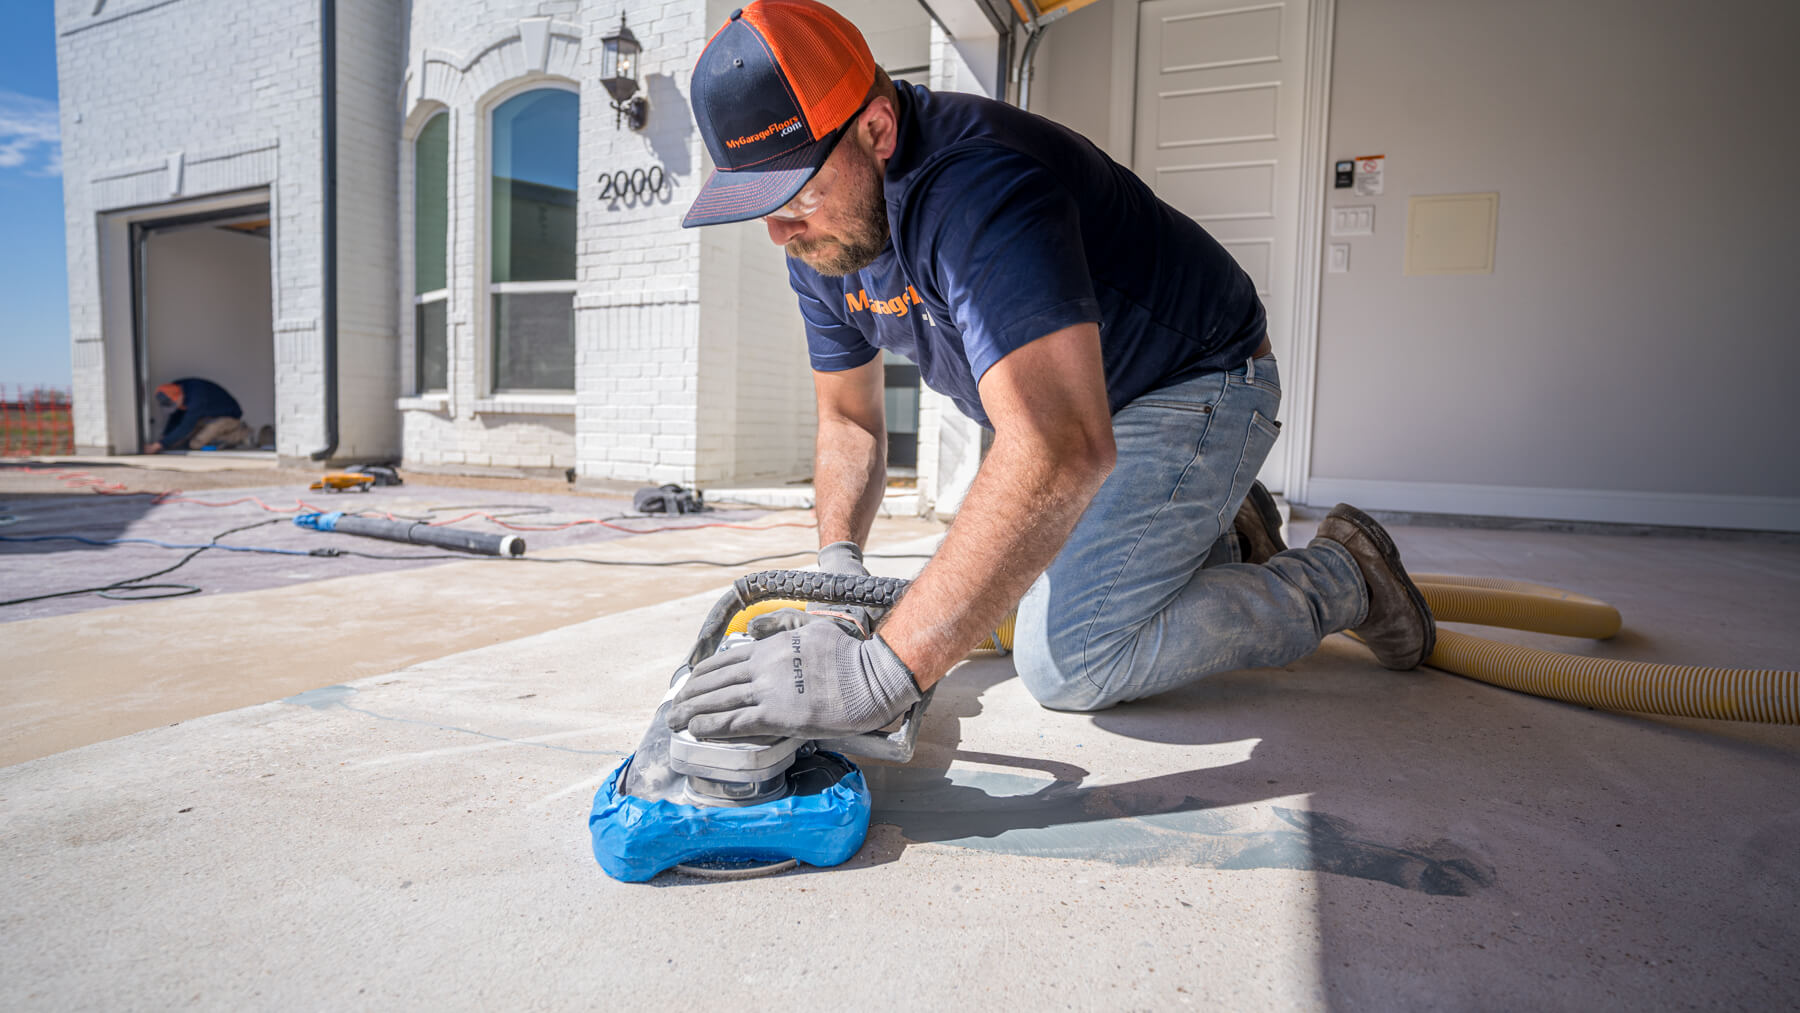
We run diamond grinders across the entire floor and take the slab down to clean, open
concrete. Old paint, old epoxy, sealer, oil staining, the slick troweled skin on top of the concrete. All of it comes off.
Grinding is what gives the coating something to physically bite into. It is dusty,
slow, and it is the most important thing that happens all day.
Grinding is the step that gets skipped when a floor is bid too cheap.
A coating laid over a slick, unopened slab has nothing to hold on to.
Diamond grinding, every single jobStep 03
Crack and hole repair
With the floor ground open we can finally see every crack, pit, spall and chip for what
it is. Each one gets filled and bonded so the finished surface is continuous instead of
bridging over a void that will telegraph through later.
Crack repair is included in your quoted price. It is not an upcharge we discover
on the day.
Every crack filled and bondedStep 04
Regrind the repairs
Repairs sit slightly proud of the slab once they set. So we grind a second time, just
over the patched areas, until you cannot feel the difference with your hand.
Skip this and every repair shows up as a raised shadow through the finished floor.
Step 05
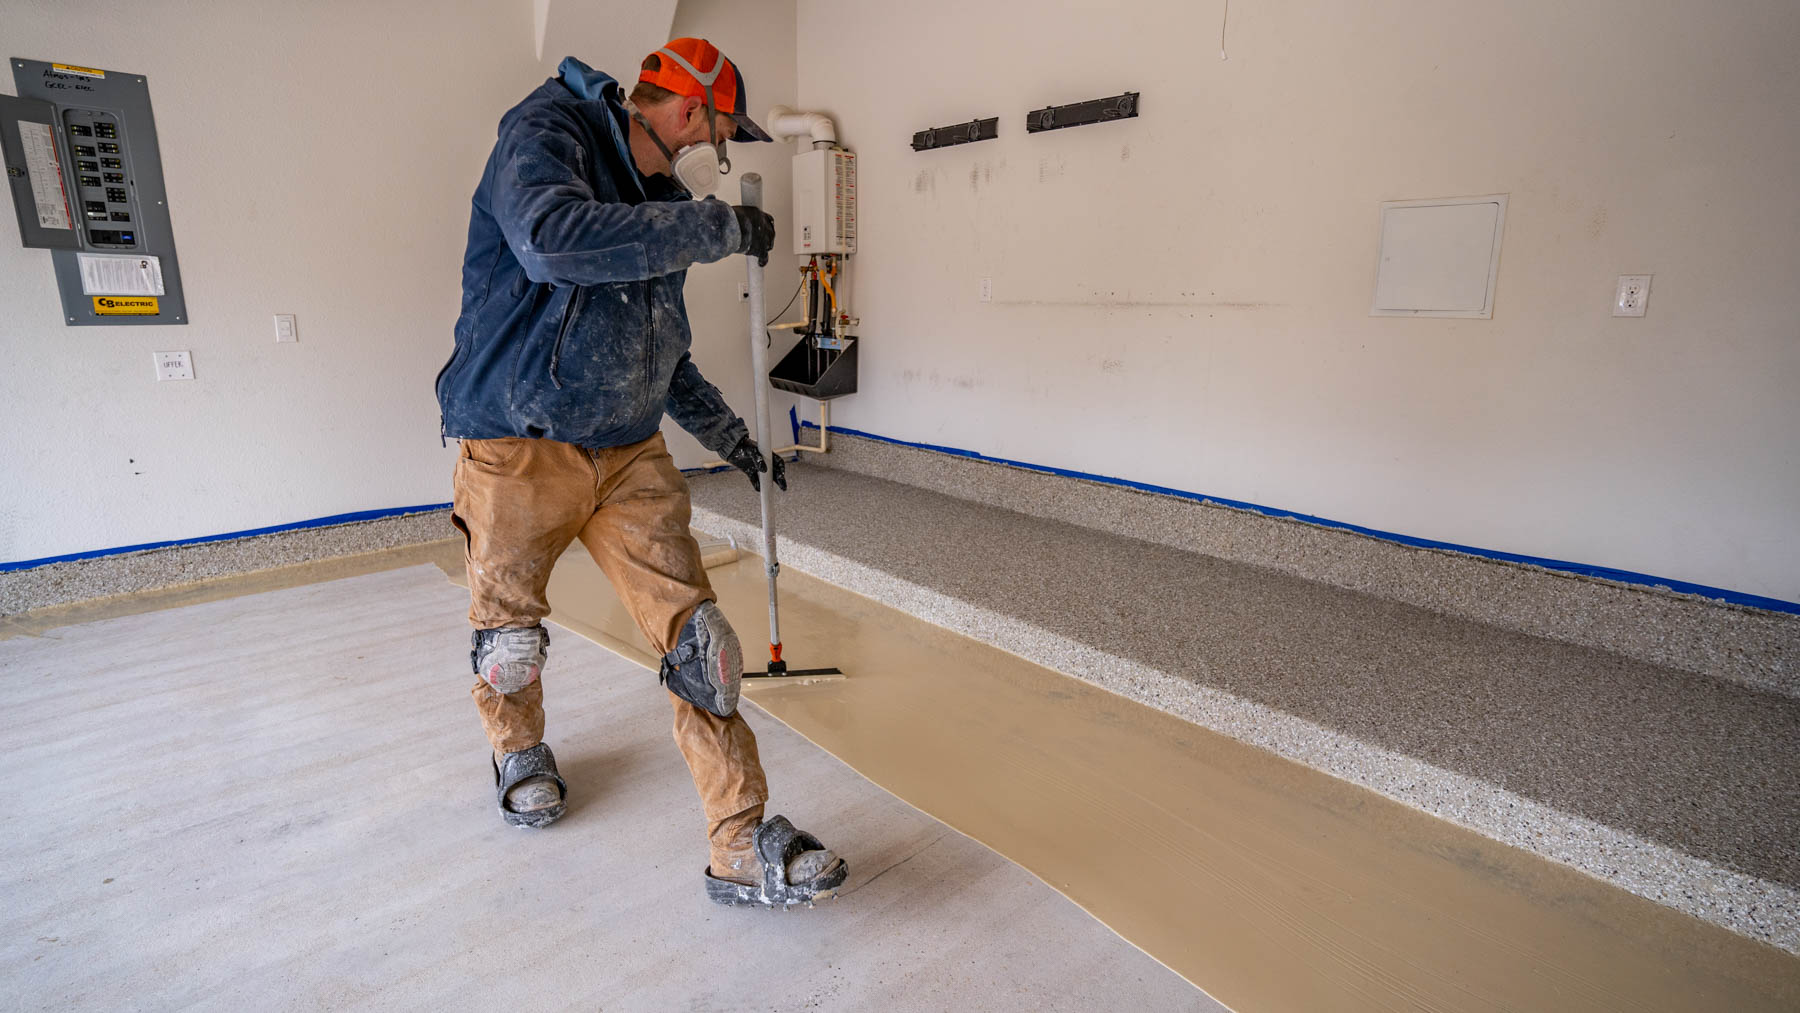
Polyaspartic base coat
Now the coating starts. The pigmented base coat goes down across the whole floor and
soaks into the concrete we just opened up.
Our base coat is polyaspartic, not epoxy and not polyurea. That is the layer
actually bonded to your slab, and it is where most of the industry saves money. A
polyaspartic base stays flexible, so it moves with a Texas or Oklahoma slab instead of
cracking underneath the top coat.
Plenty of “polyaspartic floors” are sold with an epoxy base and a
thin polyaspartic top. Ask any quote you get which resin is in the base coat.
The pigmented polyaspartic base coatStep 06
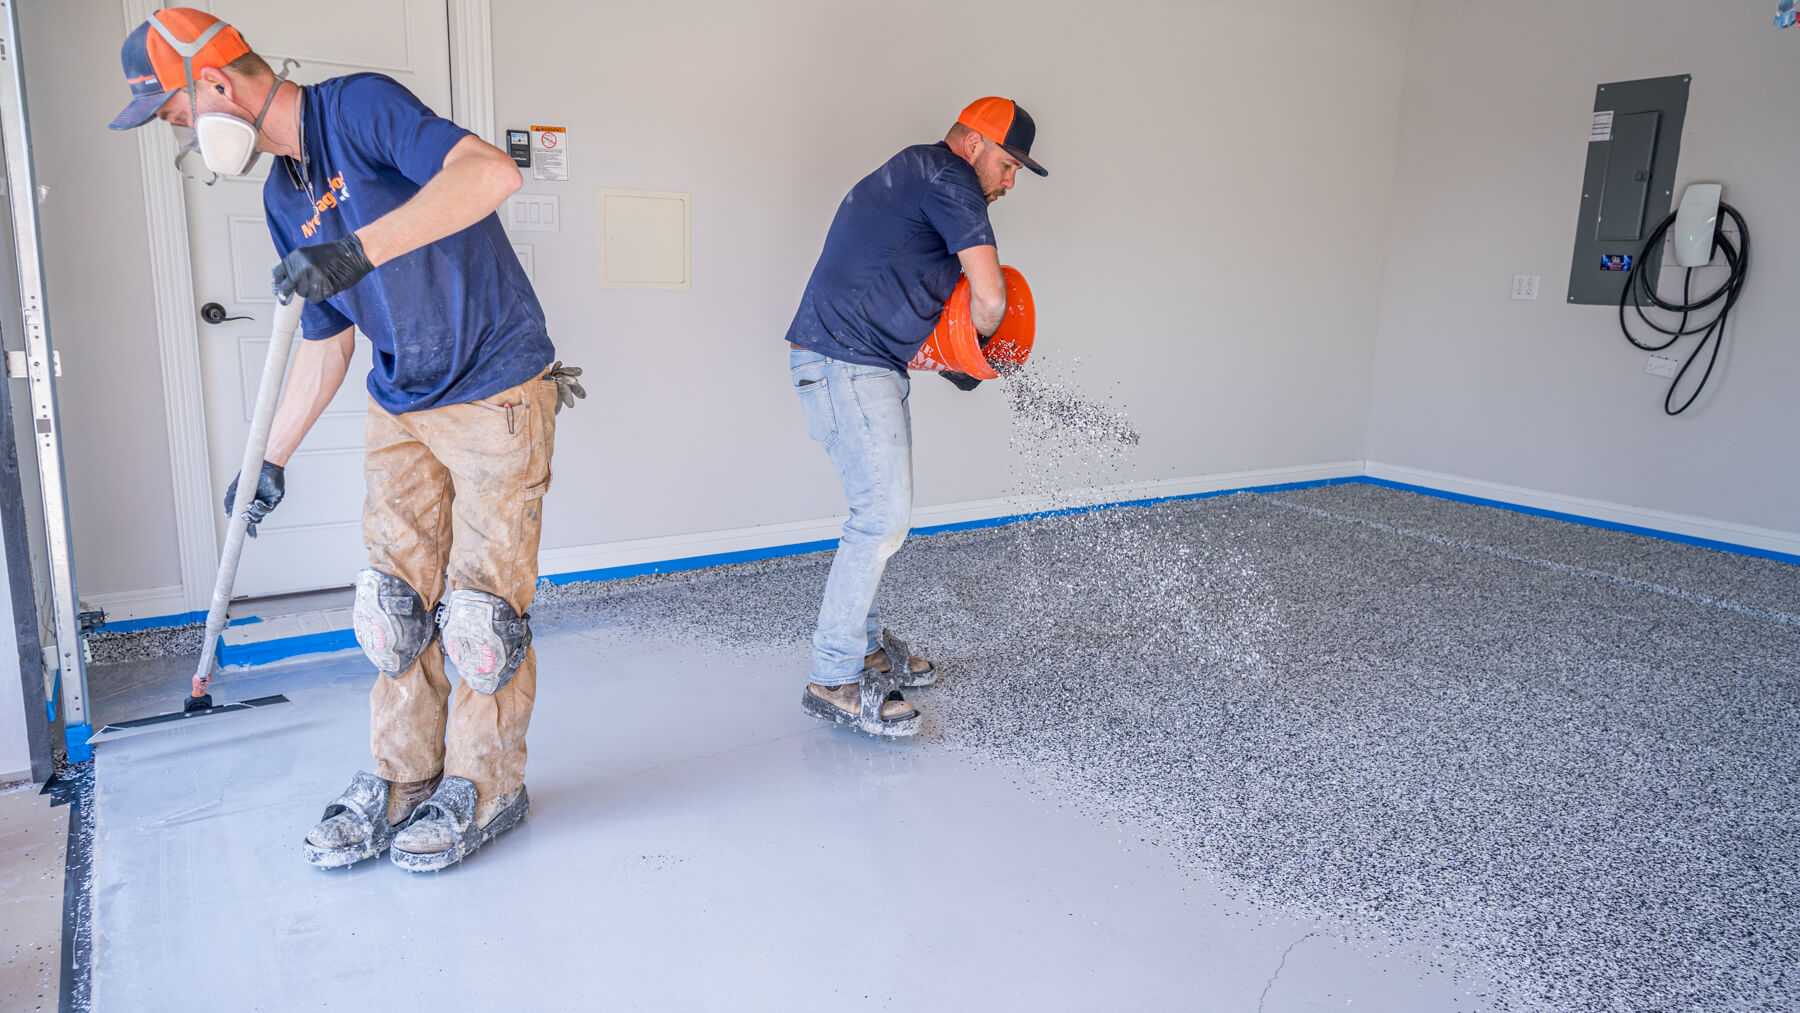
Decorative flakes
While the base coat is still wet, the crew broadcasts your color flake by hand across
the entire floor at full coverage, thrown to refusal: the point where the surface will not take another flake.
That full broadcast is what gives you the texture underfoot, the slip resistance, and a
surface that hides scuffs instead of showing every mark. The flake is also where your floor gets its color. You pick that up front, from
our eight garage floor
colors.
Broadcast by hand, wall to wallStep 07
Scrape and clean
Once the flake has set, the loose material on top gets scraped back off and the floor is
vacuumed clean. What is left is only the flake actually locked into the base coat.
Scraping is what turns a rough flake bed into the even, consistent texture you feel when
you walk on a finished floor.
Step 08
Clear polyaspartic top coat
The clear top coat goes on last and seals the flake in. This is the layer you will
actually stand on, drive on, and spill things on for the life of the floor.
It is UV stable, so the section by your garage door will not yellow the way epoxy does.
It resists hot tire pickup, chemicals and road salt, so oil and de-icer wipe off instead
of staining.
The clear top coat seals the flake inStep 09
Cleanup and walkthrough
The crew cleans up the garage and the driveway, hauls their own debris out, and walks
the finished floor with you.
Before they leave you get the exact cure times for your floor, how to clean it, and what
the lifetime warranty covers. Then the garage is yours again.
Where it started, where it ended
That is the whole day. Your price for it takes about a minute, with no home visit and no
sales appointment.
Same nine steps, compressed into a couple of minutes.
A full install, start to finish
The shortcuts
Four things that happen on other install days, and never on ours.
Every one of these makes a floor cheaper to install and shortens how long it lasts. If you
are comparing quotes, these are the questions worth asking.
Never
Acid etching instead of grinding
Acid washing is faster and far cheaper than running grinders, and it leaves the slab
nowhere near as open. We grind mechanically on every single floor.
Never
An epoxy or polyurea base coat
We do not install epoxy or polyurea, in any layer. Base coat and top coat are both
polyaspartic, so the layer touching your concrete is the flexible one.
Never
Thinned material or a light flake broadcast
A partial flake broadcast uses a fraction of the material and looks fine on install day.
It shows every scuff a year later. We broadcast to refusal.
Never
Subcontracted crews
The people in your garage are our own employees, trained on our system. Not a crew hired
for the week, not a subcontractor passing through.
Your part
Three things to do before we get there.
That is the entire list. Everything else is ours, including sweeping the floor.
✓
Empty the garageCars, shelving, freezers, bikes, the lot. We need the whole slab clear and we cannot
move your belongings for you.
✓
Leave us the drivewayGrinders, vacuums and material stage on the driveway right outside the garage. Park on
the street for the day.
✓
Plan where the cars sleepThe garage is out of action from install morning until the floor is ready to park on.
Worth sorting the night before.
After we leave
You are back in the garage the next morning.
Polyaspartic cures in hours rather than days, which is the whole reason this is one visit
and not three. Walk on it the next morning and start moving in. Cars go back after 48 hours.
Your crew lead confirms the exact times for your floor before they go, since temperature and
humidity move them.
Same day
We are gone
The crew finishes, cleans up and leaves. Keep pets and kids off the floor for the rest of
the day.
Next morning
Walk on it
Foot traffic is fine. Move the shelving and the light items back in.
48 hrs
Park on it
Drive the cars back in. Hot tire pickup is not a concern with polyaspartic once it is
cured.
Forever
Clean it with a mop
Soap and water. No waxing, no resealing, no annual maintenance contract.
The promise
Best floor, lowest price, backed for life.
Guarantee 01
Highest quality
A full polyaspartic system over diamond ground concrete, installed by our own employees.
No subcontractors, no thinned material, no shortcuts on prep.
Guarantee 02
Lowest price
We cut the commissioned sales visit out of the model and put the savings in the floor.
Find the same system priced lower and we will match it.
See the price match guarantee.
Guarantee 03
Lifetime warranty
For as long as you own and live in the home, the coating is covered. If it peels or
delaminates we come back and make it right.
Read the warranty.
Install day questions
The rest of what people ask us.
How long does the installation actually take?
A standard two or three car garage is one crew visit. Larger floors, heavy old coating
removal, or a slab that needs a lot of repair can add time, and if that applies to your
garage we tell you before install day rather than on it.
Do I have to be home the whole time?
No, and you do not have to be home at all. As long as you can open the garage door for us
remotely, the crew can work without you there. Everything happens in the garage and on the driveway. We never need to come inside the house. If you would rather be around, or
want to drop in part way through and see how it is going, you are welcome to.
How bad is the dust from grinding?
Our grinders run with vacuum dust extraction, so the concrete dust is captured at the
tool instead of drifting through the garage. It is a working jobsite for a few hours, but
it is not the dust storm people expect.
What if my floor already has epoxy or paint on it?
It comes off during grinding. That is one of the things step two is for. Removing an old
coating can add time to the day, so tell us about it when you get your quote and we will
plan for it.
What happens if you find a crack you did not know about?
We repair it, at no extra charge. Crack repair is included in the quoted price, and your
online quote is the final price. There is no day-of change order.
Can you install in winter, or when it is raining?
Yes. Polyaspartic cures in a much wider temperature range than epoxy, which is one of the
practical reasons we use it. The garage door does need to be open for airflow during
application, so genuinely severe weather can move a date.
When can I put the cars back in?
You can walk on the floor the next morning and start moving the shelving and light items
back in. Cars go back in after 48 hours. Your crew lead gives you the exact numbers for
your install before they leave, because temperature and humidity shift them.
What is actually in the coating you are putting down?
Four layers: diamond ground concrete, a pigmented polyaspartic base coat, a full
decorative flake broadcast, and a clear polyaspartic top coat. The
full polyaspartic system is broken down here,
layer by layer.
What does the lifetime warranty cover?
For as long as you own and live in the home, the coating is covered against peeling and
delamination. If it fails we come back and fix it.
The full warranty terms are here.
See what your garage floor costs.
About a minute, no home visit, and the price you see is the price you pay.